Custom Numbering Tutorial - Use for Front Matter, Prologues, and More
This post / video explain how to use Laterpress's custom numbering feature.

- To set up custom numbers, first click the Edit icon for the book you want to have custom numbering.
- On the “Details” screen, scroll down to the bottom.
- Click the slider neck to “Custom chapter numbering” so that it appears blue / the circle is to the right side of the slider. This indicates custom chapter numbering is now ON.
- Now, when editing chapters, a new text box appears above the box for entering a chapter title. This new box is labeled “Custom numbering (Optional).”
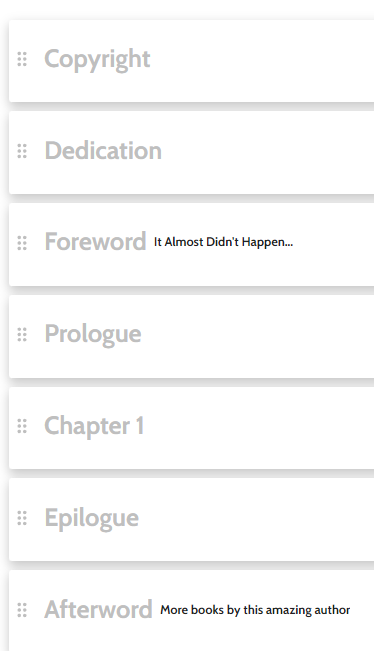
- In this box, enter up to 25 characters that describe this chapter. They do not have to be numbers. Example uses for this box include: Content Advisory, Prologue, Part 1: Chapter 7, Glossary, Act 2: Scene 3, etc.
A note about custom numbering and the "import epub" feature - Importing epubs allows you to get the browser-based edition of your book set up quickly, but the system does not upload information into the custom numbering textbox. If you wish to make use of custom numbering to provide additional clarity to your book structure, this information will need to be manually entered once the epub upload in complete. The formatting of the epub file is preserved if you choose to make the book available for downloads - the need for manual updating applies only to the browser-based version.